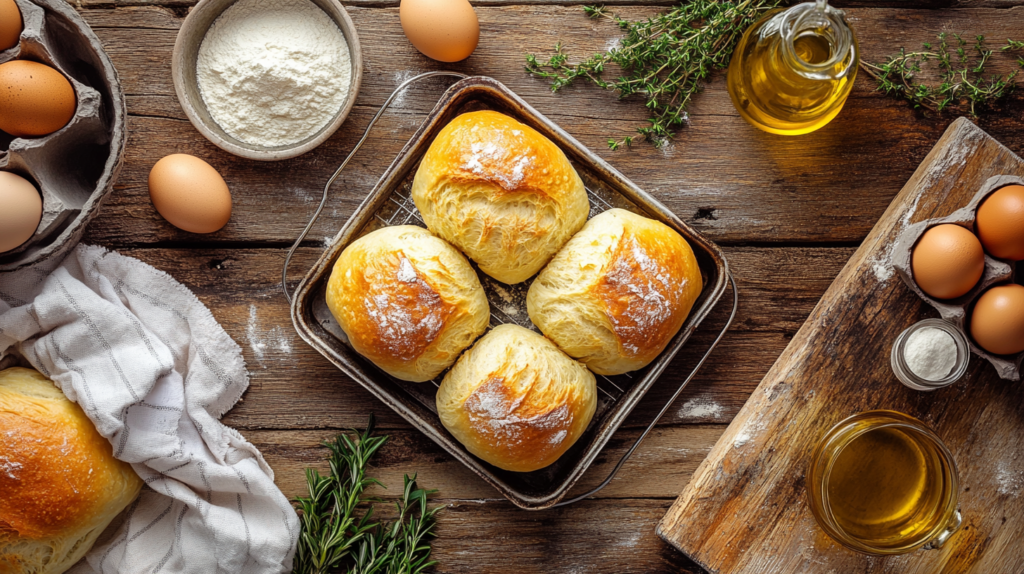
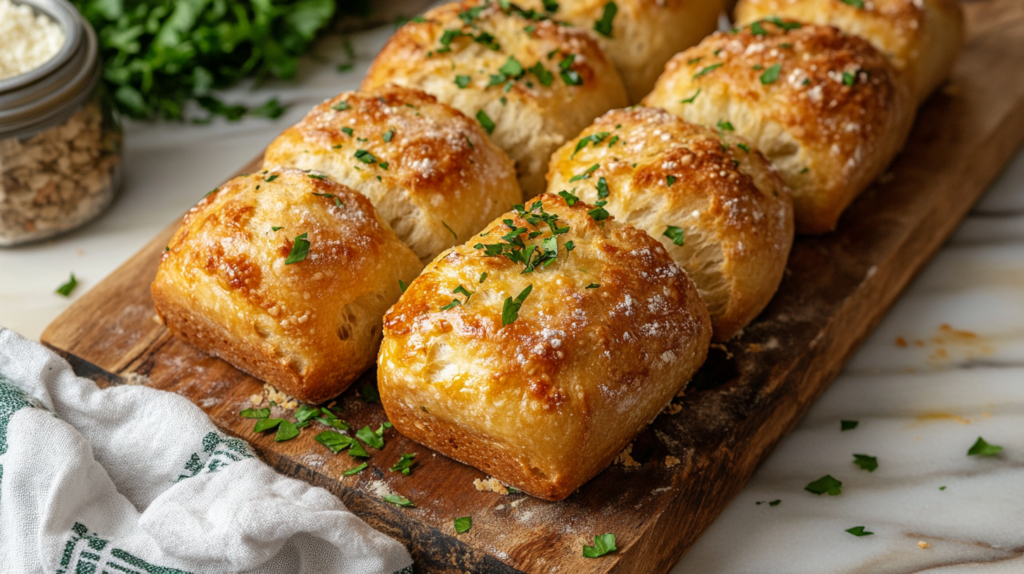
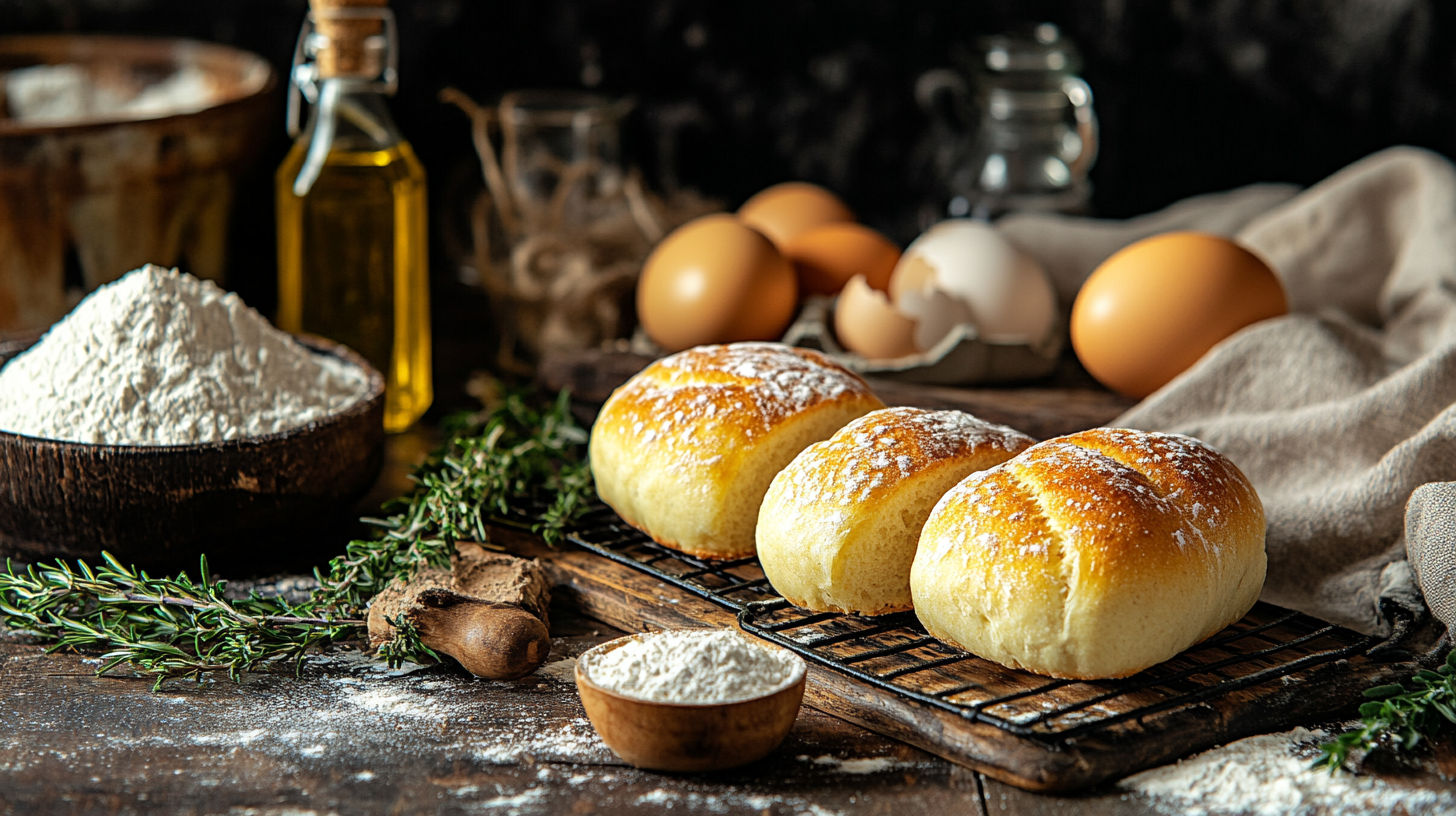
Who doesn’t love bread? It’s one of the most versatile and comforting foods out there. But sometimes, a full loaf can feel like too much. Enter mini bread loaves! These adorable, perfectly portioned treats are ideal for everything from gifting to meal prep. Whether you’re making classic white bread, sweet banana loaves, or savory herb-infused options, this guide will walk you through everything you need to know to bake the perfect mini bread loaf.
Why Make Mini Bread Loaves?
Mini bread loaves aren’t just smaller versions of regular bread—they’re practical, fun, and versatile. Let’s explore why they’re worth trying.
The Appeal of Miniature Baking
There’s something inherently satisfying about mini versions of food. Mini bread loaves look adorable, bake faster, and allow you to enjoy fresh bread without committing to a full loaf. Plus, they’re easier to store and perfect for portion control.
“Baking mini loaves is like crafting little bundles of joy—bite-sized and packed with flavor!” 🍞✨
Versatility: Sweet, Savory, and Everything in Between
One of the best things about mini bread loaves is their versatility. Whether you’re craving a sweet banana loaf for breakfast or a savory cheese and herb bread for dinner, mini loaves let you experiment without making a massive batch.
Perfect for Gifting, Parties, and Meal Prep
Mini loaves make wonderful gifts for friends and family. Wrap them in parchment paper, tie them with twine, and you’ve got a thoughtful homemade present. They’re also great for parties or events where individual servings are more convenient.
Essential Ingredients for Mini Bread Loaf Recipes
The key to great mini loaves lies in using the right ingredients. Let’s break down what you’ll need.
Flour and Alternatives: All-Purpose, Whole Wheat, and More
- All-Purpose Flour: The go-to for soft, fluffy bread.
- Whole Wheat Flour: Adds a hearty texture and nutty flavor.
- Alternative Flours: Almond or coconut flour for gluten-free versions, though these may require adjustments to liquid ratios.
Sweeteners and Flavor Enhancers
- Sugar: Granulated sugar works well for sweet loaves, while brown sugar adds depth.
- Honey or Maple Syrup: Natural sweeteners that pair beautifully with whole wheat or nutty flavors.
- Spices: Cinnamon, nutmeg, or cardamom can elevate sweet loaves.
Common Add-Ins: Nuts, Dried Fruits, and Herbs
- Nuts: Walnuts or pecans for crunch in banana or zucchini loaves.
- Dried Fruits: Raisins, cranberries, or chopped dates add bursts of sweetness.
- Herbs: Fresh rosemary, thyme, or basil are perfect for savory options.
“Mini loaves are a blank canvas—your ingredients are the paintbrush. Let your creativity shine!” 🎨🍞

Tools and Equipment for Mini Bread Loaves
The right tools make all the difference when baking mini loaves.
Choosing the Right Mini Loaf Pans
Mini loaf pans come in various materials, including metal, silicone, and glass. Metal pans are the most popular for even heat distribution, while silicone pans offer easy release. Look for pans with non-stick coatings for effortless cleanup.
Measuring Tools for Perfect Portions
Accurate measurements are crucial for baking success. Use:
- Measuring cups and spoons for dry and liquid ingredients.
- A kitchen scale for precision, especially when working with alternative flours.
Must-Have Accessories for Mixing and Baking
- Mixing bowls of various sizes.
- A whisk or hand mixer for blending ingredients smoothly.
- Silicone spatulas for scraping every bit of batter into the pans.
Step-by-Step Guide to Making Mini Bread Loaves
Ready to bake? Follow these steps to make mini bread loaves that are as delicious as they are adorable.
Prepping Your Ingredients and Equipment
- Gather your ingredients and measure them accurately.
- Preheat your oven to 350°F (175°C).
- Grease your mini loaf pans or line them with parchment paper to prevent sticking.
Mixing and Portioning the Dough or Batter
- In a large bowl, combine your dry ingredients (flour, sugar, baking powder, and spices).
- In a separate bowl, whisk together wet ingredients (milk, oil, eggs, or plant-based substitutes).
- Gradually add the wet ingredients to the dry mixture, stirring until just combined. Overmixing can result in dense bread.
- Fold in any add-ins like nuts, fruits, or herbs.
- Divide the batter evenly among the mini loaf pans, filling each about ¾ full to allow room for rising.
Baking Tips for Evenly Cooked Mini Loaves
- Place the pans on the middle rack of your oven for even heat distribution.
- Bake for 20–30 minutes, depending on the recipe. Use a toothpick to check doneness—it should come out clean or with a few crumbs.
- Allow the loaves to cool in the pans for 5–10 minutes before transferring them to a wire rack to cool completely.
“Patience is key—let your mini loaves cool for the best texture and flavor.” ⏳🍞

Popular Mini Bread Loaf Recipes to Try
Mini bread loaves are versatile, allowing you to explore a variety of flavors and textures. Here are some popular recipes to inspire your baking adventures.
Classic Mini White Bread Loaf
This simple and soft bread is perfect for sandwiches or as a side with butter.
- Ingredients: All-purpose flour, yeast, sugar, salt, warm water, and a touch of oil.
- Steps:
- Mix the dry ingredients and gradually add warm water and oil.
- Knead the dough until smooth and let it rise until doubled in size.
- Shape into mini loaves, place in greased pans, and bake until golden brown.
“Classic white bread never goes out of style—it’s comfort food in every slice!” 🍞💛
Sweet Banana Mini Loaf
Banana bread in mini form is great for breakfast or dessert.
- Ingredients: Overripe bananas, flour, sugar, eggs or a vegan substitute, butter or oil, baking powder, and a pinch of cinnamon.
- Steps:
- Mash the bananas and mix them with wet ingredients.
- Combine with dry ingredients, then fold in chopped walnuts or chocolate chips.
- Bake until the loaves are golden and your kitchen smells heavenly.
“Nothing beats the aroma of banana bread baking—it’s like a warm hug for your senses.” 🍌✨
Savory Cheese and Herb Mini Loaf
This savory loaf is perfect alongside soups, salads, or as a snack.
- Ingredients: Cheddar or Parmesan cheese, chopped fresh herbs (rosemary or thyme), flour, baking powder, milk, and eggs.
- Steps:
- Mix grated cheese and herbs with the dry ingredients.
- Combine with the wet ingredients to form a thick batter.
- Bake until the tops are golden and slightly crispy.
“Savory mini loaves add a gourmet touch to any meal—simple yet sophisticated!” 🧀🌿
Creative Variations on Mini Bread Loaves
Once you’ve mastered the basics, it’s time to get creative! Mini loaves are a blank canvas for your culinary imagination.
Gluten-Free Mini Loaves with Almond or Coconut Flour
For those with dietary restrictions, gluten-free mini loaves are a lifesaver:
- Use almond flour or coconut flour for a naturally gluten-free base.
- Add xanthan gum or psyllium husk to help bind the ingredients.
- Pair with natural sweeteners like honey or maple syrup for a delightful twist.
Vegan Mini Loaves with Plant-Based Ingredients
Vegan mini loaves are equally delicious and easy to make:
- Replace eggs with flaxseed or chia eggs (1 tablespoon flaxseed/chia + 3 tablespoons water).
- Use almond or oat milk and coconut oil for moisture.
- Experiment with flavors like lemon-blueberry or chocolate-zucchini.
High-Protein Mini Loaves with Seeds and Nuts
Boost the nutritional value with protein-rich ingredients:
- Add sunflower seeds, pumpkin seeds, or flaxseeds to the batter.
- Mix in protein-rich flours like chickpea or quinoa flour.
- Sprinkle seeds on top for a crunchy finish.
“Think of mini loaves as your kitchen playground—there are no limits to what you can create.” 🎨✨
Common Problems and Solutions for Mini Bread Loaves
Even experienced bakers encounter challenges with mini bread loaves. Here’s how to troubleshoot common issues.
Why Are My Mini Loaves Too Dense?
Dense bread often results from one of the following:
- Overmixing: Stir the batter gently to avoid overworking the gluten.
- Insufficient Leavening: Check that your baking powder or yeast is fresh and correctly measured.
- Incorrect Liquid Ratios: Too little liquid can make the dough heavy. Gradually add liquid until the batter is smooth but not runny.
Fixing Uneven Baking or Burnt Edges
Uneven baking is a common issue with smaller pans:
- Solution: Place the pans on the middle oven rack for even heat distribution.
- Prevention: Rotate the pans halfway through baking.
- Tip: Use light-colored pans to reduce the risk of burnt edges.
Preventing Dry or Crumbly Mini Loaves
Dry loaves can ruin an otherwise great recipe:
- Check Baking Time: Overbaking is a common culprit. Set a timer and use a toothpick to check for doneness.
- Add Moisture: Ingredients like yogurt, mashed bananas, or applesauce can add extra moisture.
- Store Properly: Wrap loaves tightly in plastic wrap or store in an airtight container to retain softness.
“A few small tweaks can turn a baking mishap into mini loaf magic!” 🪄🍞
Tips for Storing and Serving Mini Bread Loaves
Proper storage and presentation ensure your mini bread loaves stay fresh and appealing for days—or even weeks if you freeze them. Let’s explore how to make the most of your delicious creations.
Keeping Mini Loaves Fresh and Moist
To maintain the freshness and softness of your mini loaves:
- Room Temperature: Wrap the loaves in plastic wrap or store them in an airtight container. They’ll stay fresh for up to 3 days.
- Refrigeration: For longer storage, place the wrapped loaves in the fridge. Let them come to room temperature or warm them slightly before serving.
- Moisture Tip: Add a piece of bread or a damp paper towel to the container to prevent them from drying out.
Freezing Mini Loaves for Future Enjoyment
Freezing is a fantastic option for meal prep or preserving leftovers:
- Allow the loaves to cool completely before freezing.
- Wrap each loaf individually in plastic wrap or aluminum foil.
- Place the wrapped loaves in a freezer-safe bag and label with the date.
- When ready to eat, thaw at room temperature or warm in the oven at 350°F (175°C) for 5–10 minutes.
“Freezing mini loaves is like saving a little slice of joy for your future self.” ❄️🍞
Best Ways to Serve Mini Bread Loaves
Mini bread loaves are perfect for any occasion. Here are some serving suggestions:
- Breakfast: Serve with butter, jam, or cream cheese for a quick and satisfying start to the day.
- Lunch or Dinner: Pair savory loaves with soups, salads, or dips for a hearty side.
- Dessert: Drizzle sweet loaves with icing or top with whipped cream and fresh fruit for a decadent treat.
“Mini loaves are versatile little wonders—perfect for any meal, snack, or special occasion.” ✨🍽️
FAQs About Mini Bread Loaf Recipes
Have questions about baking mini bread loaves? Here are answers to some of the most common ones to ensure your baking success.
How Do You Adjust Baking Times for Mini Loaf Pans?
Adjusting bake times for mini loaf pans is simple:
- Mini loaves bake faster than regular loaves, typically taking 20–30 minutes.
- Start checking for doneness at the 20-minute mark by inserting a toothpick. If it comes out clean or with a few crumbs, the loaves are ready.
How Much Do You Fill Mini Loaf Pans?
Fill mini loaf pans about ¾ full. This allows the batter to rise without spilling over the edges. Avoid overfilling, as it can lead to uneven baking or overflow.
Do Smaller Loaves Take Less Time to Bake?
Yes, smaller loaves take less time to bake because their smaller size allows heat to penetrate more quickly. Always monitor the baking process closely to avoid overbaking.
What Is the Difference in Baking Time for Mini Loaf Pans?
The main difference is the reduced bake time. Regular loaves may take 45–60 minutes, while mini loaves are done in 20–30 minutes. Always adjust your baking time based on the size of your mini loaf pans and the density of your batter or dough.
Can I Use Regular Bread Recipes for Mini Loaves?
Absolutely! Regular bread recipes work well for mini loaves. Just divide the batter or dough evenly among the pans and reduce the baking time.
What Are the Best Toppings for Mini Bread Loaves?
Toppings can enhance the flavor and presentation of mini loaves:
- Sweet Loaves: Add cinnamon sugar, glaze with icing, or sprinkle with nuts.
- Savory Loaves: Top with shredded cheese, fresh herbs, or seeds like sesame or pumpkin.
How Do I Store Mini Bread Loaves?
- Room Temperature: Wrap in plastic wrap or store in an airtight container for up to 3 days.
- Refrigeration: Keep in the fridge for up to a week.
- Freezing: Freeze individually wrapped loaves for up to 3 months.
Discover More Recipes to Complement Your Mini Bread Loaves
If you’re enjoying mini bread loaf recipes, these additional ideas will inspire you to create delicious pairings and explore new baking adventures. From savory sides to sweet treats, check out these complementary recipes:
- Simply Recipes Banana Bread: The Ultimate Guide to Perfect Banana Bread – Try a classic banana bread recipe for a sweet and wholesome variation.
- Breakfast Croissant Recipe: Flaky, Buttery Mornings Made Easy – Add buttery croissants to your breakfast table for a luxurious pairing.
- Southern Cornbread Recipe: The Ultimate Guide to Perfect Homemade Cornbread – Explore another classic bread option to complement your mini loaves.
- Frozen Green Bean Recipes: Quick and Delicious Dishes for Every Meal – Pair your bread with a light and healthy side dish.
- Heavy Cream Recipe: A Versatile Ingredient for Delicious Dishes – Learn how to create creamy spreads or accompaniments for your mini bread loaves.
These recipes offer a variety of options to enhance your baking and meal experience. Explore them today and make your mini bread loaves even more special!
Conclusion
Mini bread loaves may be small in size, but they’re big on flavor and versatility. Whether you’re baking for a party, meal prepping for the week, or gifting a thoughtful treat, these tiny loaves are a delight to make and share.
From classic white bread to creative variations like banana or cheese and herb, the possibilities are endless. With the right tools, ingredients, and a bit of patience, you can create mini loaves that are as beautiful as they are delicious.
So, preheat that oven, grab your mini loaf pans, and let the baking adventures begin. Your kitchen is about to be filled with the irresistible aroma of freshly baked bread!
“Mini loaves: proof that great things really do come in small packages.” 🥖💛
Happy baking! 🍞✨

